Introduction
In this article I describe how to create a basic augmented reality application using Android SDK and OpenglES. This application shows a 3D cube (virtual object) overlaid to the camera surface (real world).
Background
You need the following software to be installed in your PC in order to develop for Android in Java: Sun JDK 6, Android SDK, Eclipse IDE 3.6 or higher version, ADT plug-in for Eclipse.
If you are a beginner in Android development, I recommend you to read the first section of the Professional Android for Application Development book in this link: http://it-ebooks.info/book/718/.
Using the Code
The source code of the project attached here consists of an Android project containing four Java classes. The class Cubeis the drawing class. A cube is defined by eight vertices indexed from 0 to 7. The array of indices below describes the order in which the vertices are called in order to draw each face of the cube.
// The array of indices

private byte indices[] = {
0, 4, 5, 0, 5, 1,
1, 5, 6, 1, 6, 2,
2, 6, 7, 2, 7, 3,
3, 7, 4, 3, 4, 0,
4, 7, 6, 4, 6, 5,
3, 0, 1, 3, 1, 2
};
The method performing the drawing is the method void draw (GL10 gl) thanks to the gl functionglDrawElements. In this case, glDrawElements performs the 3D drawing by invoking GL_TRIANGLES which interprets each triple of vertices as a triangle.
// Drawing a 3D cube
public void draw(GL10 gl) {
    gl.glFrontFace(GL10.GL_CW);

    // some code
    gl.glDrawElements(GL10.GL_TRIANGLES, 36, GL10.GL_UNSIGNED_BYTE, mIndexBuffer);
    //some code
}
The class GLClearRenderer is the rendering class. It implements the interface GLSurfaceView.Renderer of Android contained in the OpenGL package. This class must implement the three inherited methods of Render:
OndrawFrame(GL 10)is called for drawing frame per frame. This method invokes the draw method of classCube.
// Rendering a 3D cube on Android Opengl

// This method is called per frame, as the name suggests.
public void onDrawFrame( GL10 gl ) {

	//
	gl.glClear(GL10.GL_COLOR_BUFFER_BIT | GL10.GL_DEPTH_BUFFER_BIT);
	gl.glLoadIdentity();

	gl.glTranslatef(0.0f, 0.0f, -10.0f);
	gl.glRotatef(mCubeRotation, 1.0f, 1.0f, 1.0f);

	// invoke the draw method of cube class
	mCube.draw(gl);

	gl.glLoadIdentity();
	mCubeRotation -= 0.15f;
}
void onSurfaceChanged( GL10 gl, int width, int height ) is called whenever the dimensions of the surface change.void onSurfaceCreated( GL10 gl, EGLConfig config ) is called when the surface is first created.The Camera View class allows us to access the camera’s streaming video which means that we can incorporate live video into our application. To access the camera hardware, you need to add the CAMERA permission to your application manifest, as shown here:
<uses-permission android:name=”android.permission.CAMERA”/>In the Camera View class, we instantiate an object of type hardware.Camera and open a handle to the camera hardware:
Private Camera camera;

//start up the camera
Camera = Camera.open();
The main class is the CameraProjectActivity which is an Android Activity. This class overrides the onCreatemethod that is called when the activity is first created. Inside this method, we create an OpenGL surface View:
GLSurfaceView glView = new GLSurfaceView( this );To see the camera preview, the OpenGL surface has to be created translucently.
glView.setEGLConfigChooser( 8, 8, 8, 8, 16, 0 );
glView.getHolder().setFormat( PixelFormat.TRANSLUCENT);
We set the GLView Render to the render implemented in the GLClearRenderer class described above.
glView.setRenderer( new GLClearRenderer() );Now create a view which contains the camera preview and add it to the surface view, wrapping the full screen size.
CameraView cameraView = new CameraView( this );
addContentView( cameraView, new LayoutParams(
LayoutParams.WRAP_CONTENT, LayoutParams.WRAP_CONTENT ) );
Points of Interest
Load the project and build it on an Android mobile. Take a look at this tutorial to see how to debug an Android project on mobile: http://developer.android.com/tools/device.html.
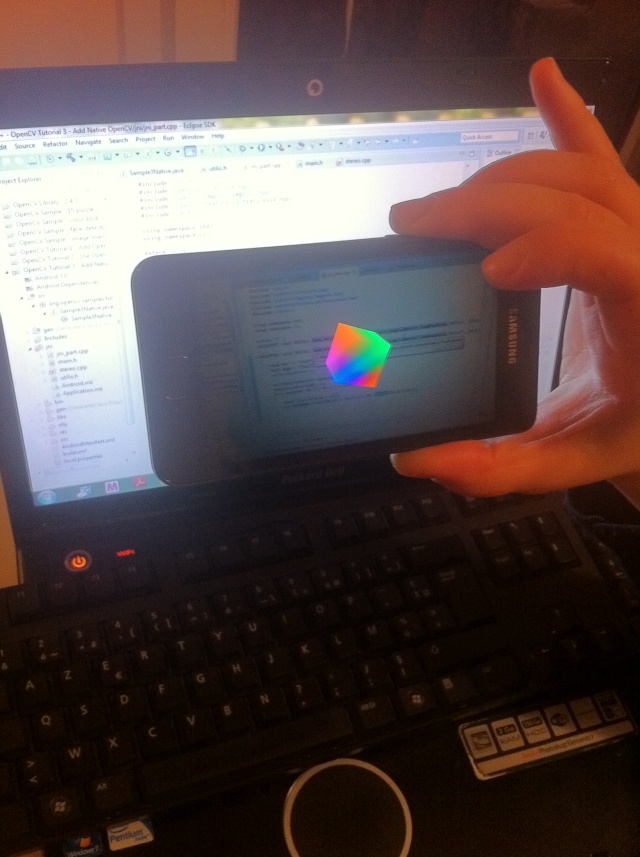
The application should look like this: